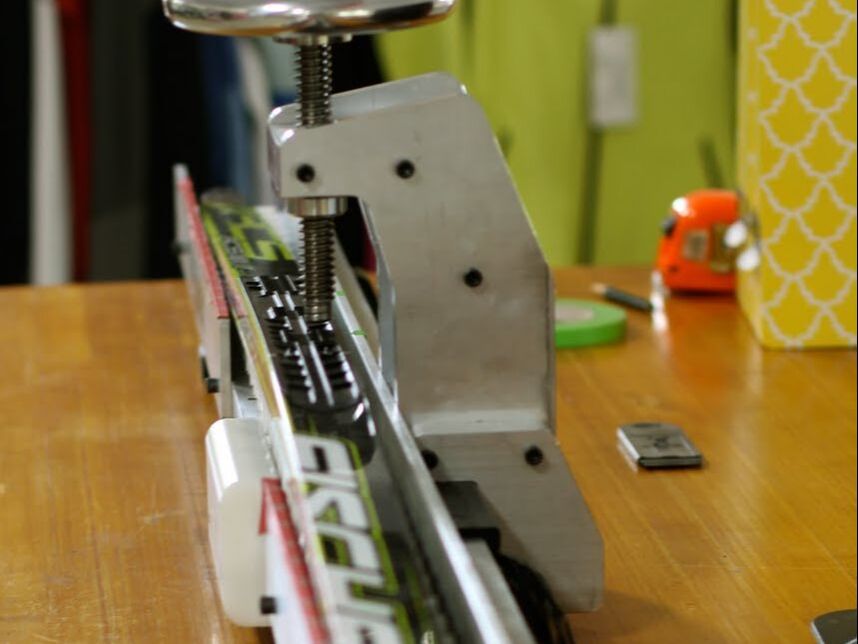
There are two accepted methods of determining the wax pocket and where grip wax should be applied. A classic ski must do two things. It needs to glide on the snow and it needs to grip the snow when you kick the ski. The ski has a specific type of camber that when weighted with one foot will collapse to and allow the grip wax to come into contact with the snow. When both skis are weighted evenly the camber of the ski allows the grip wax to release from the snow and glide freely. The area under the ski that releases from the snow is called the wax pocket and is where the kick wax should be applied.
The Paper Test
-
Description
-
Directions
<
>
The paper test is the second best method to mark a kick zone. It isn't as accurate as a flex tester, but it can be done at home and can provide a good approximation of where the wax pocket is. The video above, provides instructions for this method. Rather than the test board, use a business card or card stock.
- Place a pair of cleaned classic skis on the floor or other flat surface
- The skier should place their feet on both skis, on the bindings or where the bindings would go
- Evenly weight both skis and have an assistant slide a business card under the ski
- Mark the hard wax pocket
- Slide the business card as far forward under the ski as it can go and mark this point.
- Slide the card all the way back and mark this point
- Repeat this step for both skis
- Slide the business card as far forward under the ski as it can go and mark this point.
- Mark the klister pocket
- Repeat step 4, but use two business cards rather than one
- Repeat step 4, but use two business cards rather than one


