The purpose of this page is to provide you with foundational knowledge to correctly glide, kick wax and klister your Nordic skis. The Craftsbury Outdoor Center Green Racing Project made a series of Youtube videos that very clearly explain the basics of both kick waxing and glide waxing.
Glide Waxing
|
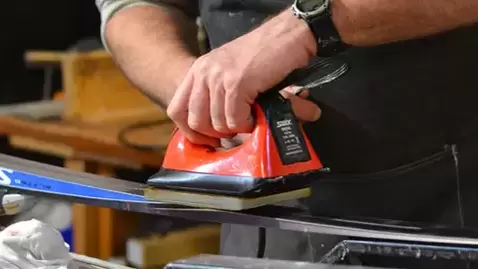
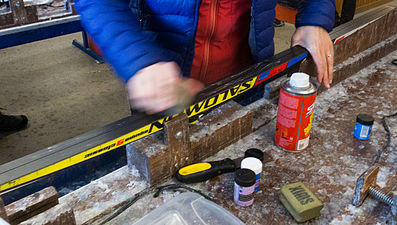
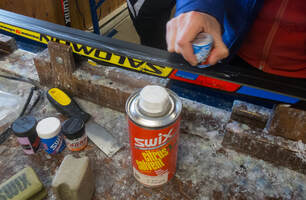
Glide waxing is seemingly very simple. It boils down to melting wax onto a ski and then removing it. That's it. The video above teaches these basics, but the process gets more complicated as the level of competition increases.
The purpose of glide waxing is to make your skis faster. Paraffin glide wax penetrates the ski base making the base more hydrophobic and decreasing friction.
|
|
|
|
- Clamp the ski into the waxing form
- Clean the ski base
- Clean with base cleaner and/or brush with a copper/steel brush
- Select an appropriate glide wax and set the iron to the correct temperature
- Apply the glide wax to the ski
- The "crayon on" method is preferred
- Slightly melt the wax on the face of the iron and then crayon it onto the ski. Repeat until the ski is covered in wax
- Drip method
- Melt the wax against the iron and let it drip onto the base of the ski
- The "crayon on" method is preferred
- Iron the wax into the base of the ski
- Keep the iron moving continuously over the ski to melt and spread the wax over the base
- It is important that the iron is kept moving so that base does not get too hot. The wax just has to be melted, nothing more.
- The base can warp or burn if it gets too hot
- Let the ski cool to room temperature or very close to room temperature
- Remove the wax from the ski
- Use a groove scraper to remove the wax from the ski groove
- Use a sharp glide wax scraper to scrape as much wax off the ski as possible
- If the scraper doesn't seem to be working, sharpen it
- Keep the scraper flat
- scrape tip to tail
- Brush the base of the ski in this order
- Fine steel or brass brush
- Horsehair or boars-hair brush
- Nylon polishing brush
- Optional- Add structure to the ski
- Use a riller to add structure to the ski
- Brush out the new structure with a polishing brush
- Use a riller to add structure to the ski
Kick Waxing
|
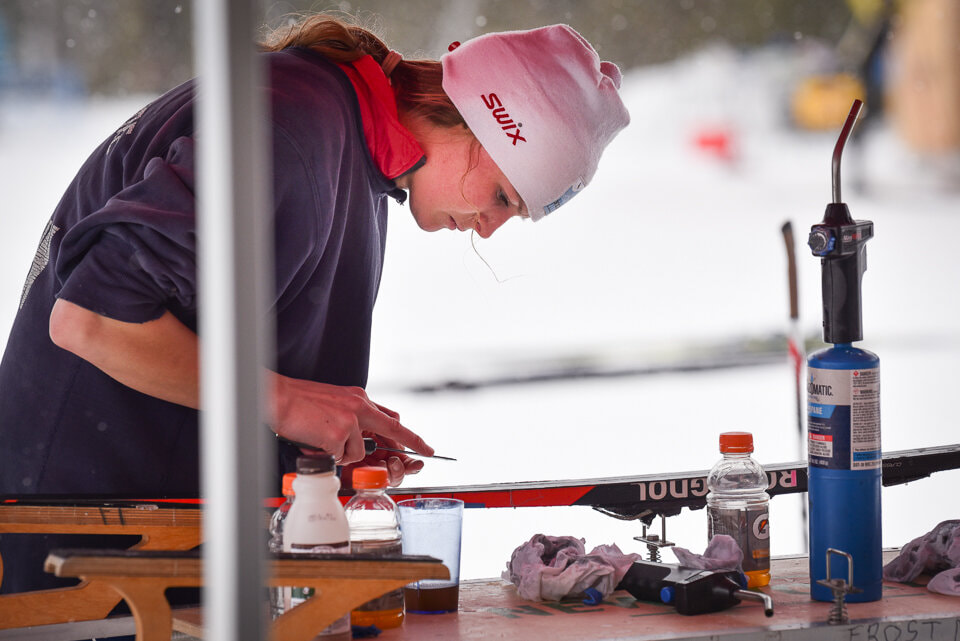
Kick waxing is both an art and a science. Kick wax is the wax that gives a classic ski the ability to grip the snow and allow the skier to move forward. Kick wax is temperature, moisture and snow texture dependent. As a skier and wax technician you have to use your experience to determine what wax or wax combination will work best for the conditions.
|
|
|
|
- Clamp the ski into a ski form
- If one isn't available, rest the tail of the ski on a ski boot and hold the ski as you proceed with the rest of the instructions
- Remove the old kick wax (if necessary)
- use a combination of a kick wax scraper and kick wax cleaner
- Mark off the kick zone with blue painters tape or a line of kick wax
- This helps to keep the wax from getting into the glide zone
- Rough up the kick zone with sandpaper (if necessary)
- Wrap a piece of 120grit sandpaper around a flat cork
- Lightly abrade the kick zone in a herringbone pattern
- Doing this will make the kick wax stick to the skis better
- Apply the first layer of kick wax to the skis
- Use light strokes to apply the wax
- Thin, even layers are faster and easier to cork in
- Cork in the wax until the wax is smooth and as clear as possible
- Use and even pressure as you cork the wax in
- Repeat steps 5 and 6 until you have the desired number of layers
- You may change wax between layers depending on the desired effect
- You may change wax between layers depending on the desired effect
Klister Waxing
|
Many skiers dread putting klister on skis, but it is often necessary to ski in less than ideal conditions. Klister is a softer kick wax that provides bomber kick when it is used in the appropriate conditions and applied in the proper method.
|
|
|
|
- Remove any wax from the base
- Use a combination of scrapers, heat and wax remover
- Use a combination of scrapers, heat and wax remover
- Mark the bounds of the kick/klister zone
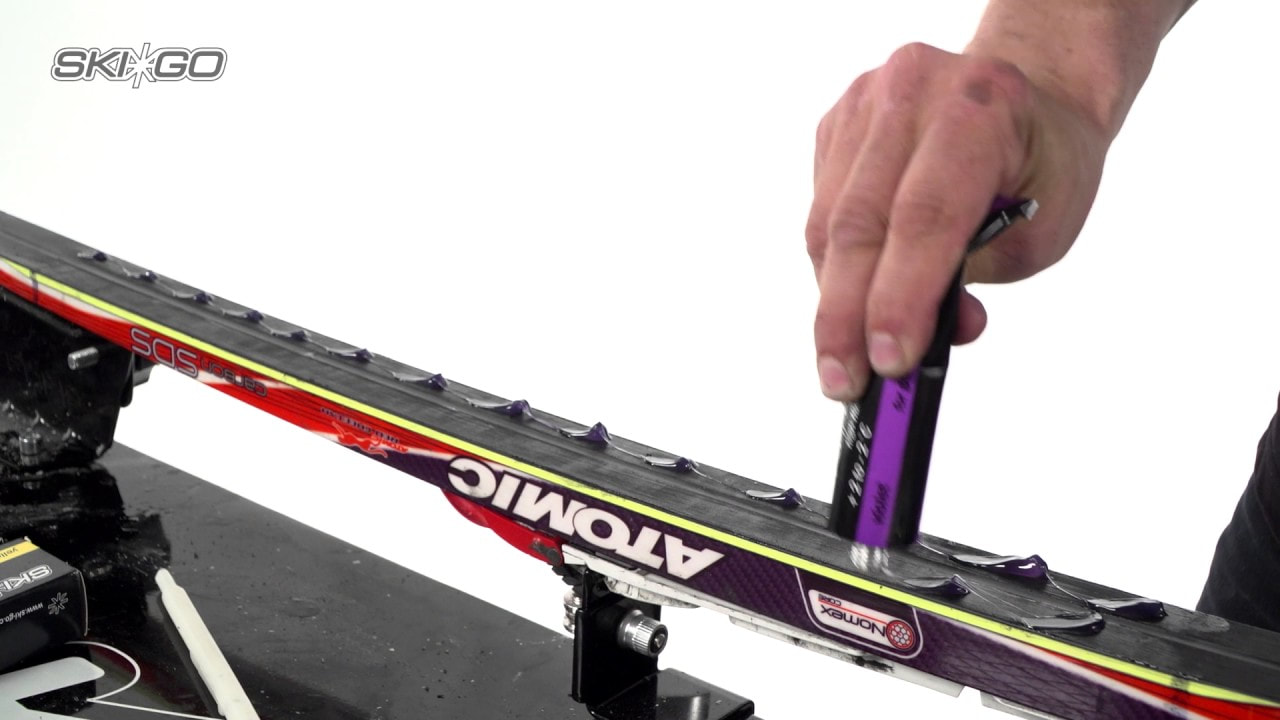
- Apply the klister using chevron, squiggle or linear pattern
- Spread and smooth out the klister
- A thumb, palm or cork can be used to spread the klister
- If the klister doesn't want to spread heat can be applied to soften the klister
- Heat gun
- Torch
- Klister iron
- Heat gun
- A thumb, palm or cork can be used to spread the klister
- Add a cover wax if necessary